As so many people who’s PCs has been meet the Windows 11 system requirements start to install the Windows 11, part of them may encounter the performance being reduced after upgraded from Windows 10 to Windows 11. If you have the same issues then you may need to turned off the VBS feature (Virtualization-Based Security). Because the VBS is being turned on by default on Windows 11 to create an isolated virtual environment in which to against malware and in exchange it will consume partial of system resource.
In this post I will demonstrate how to turn off this feature on Windows 11 to have better system performance, be note by turning off VBS on Windows 11 your device may weakness to malware attack. Proceed with your own discretion.
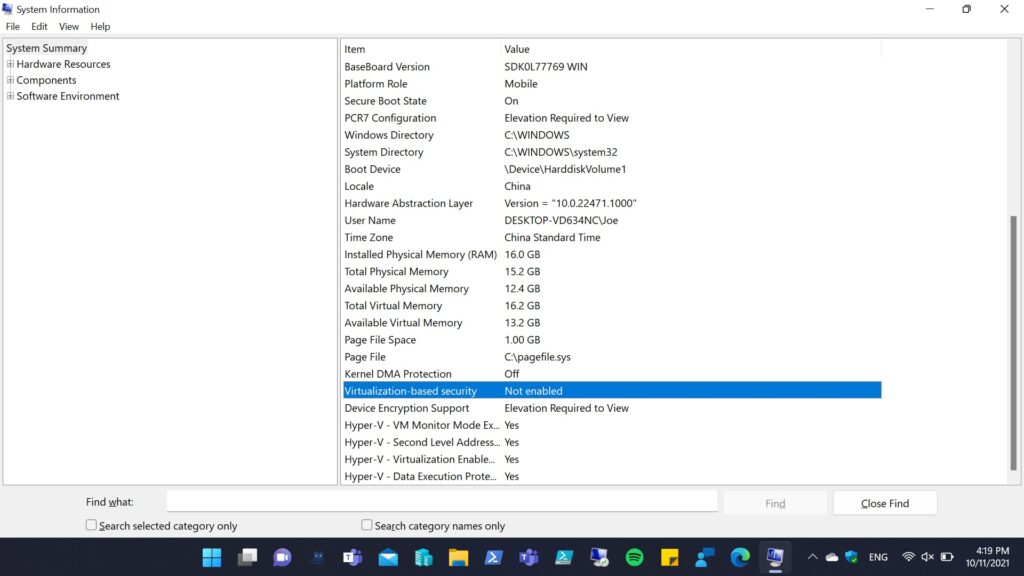
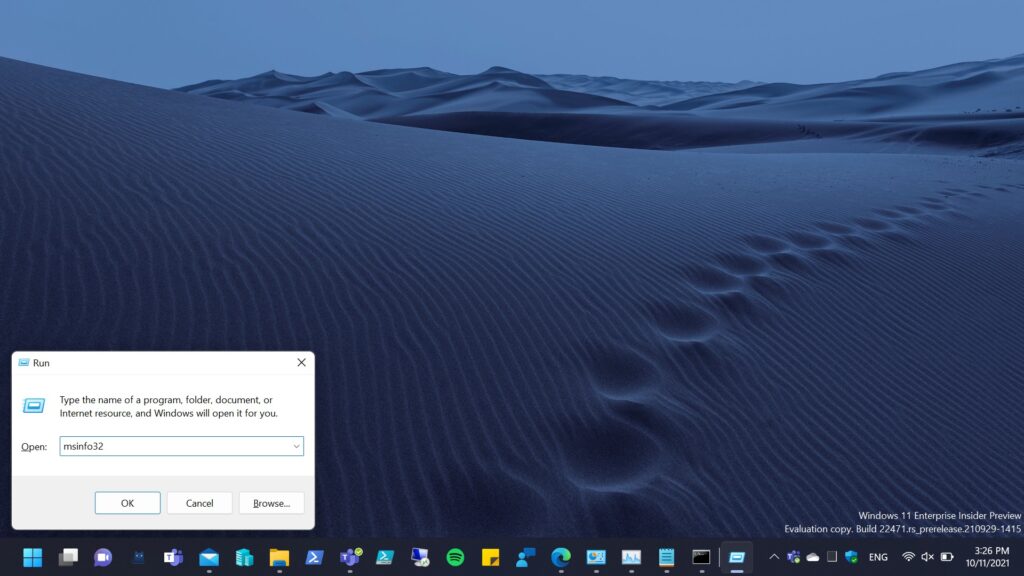
- Press Windows logo key + R to open Run > enter “msinfo32” > then click OK to open System Information.
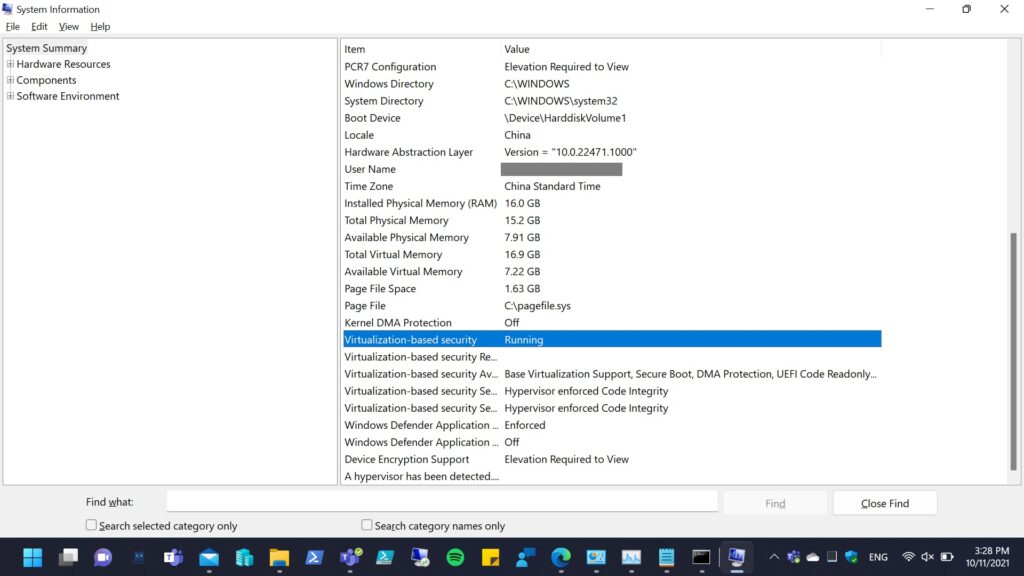
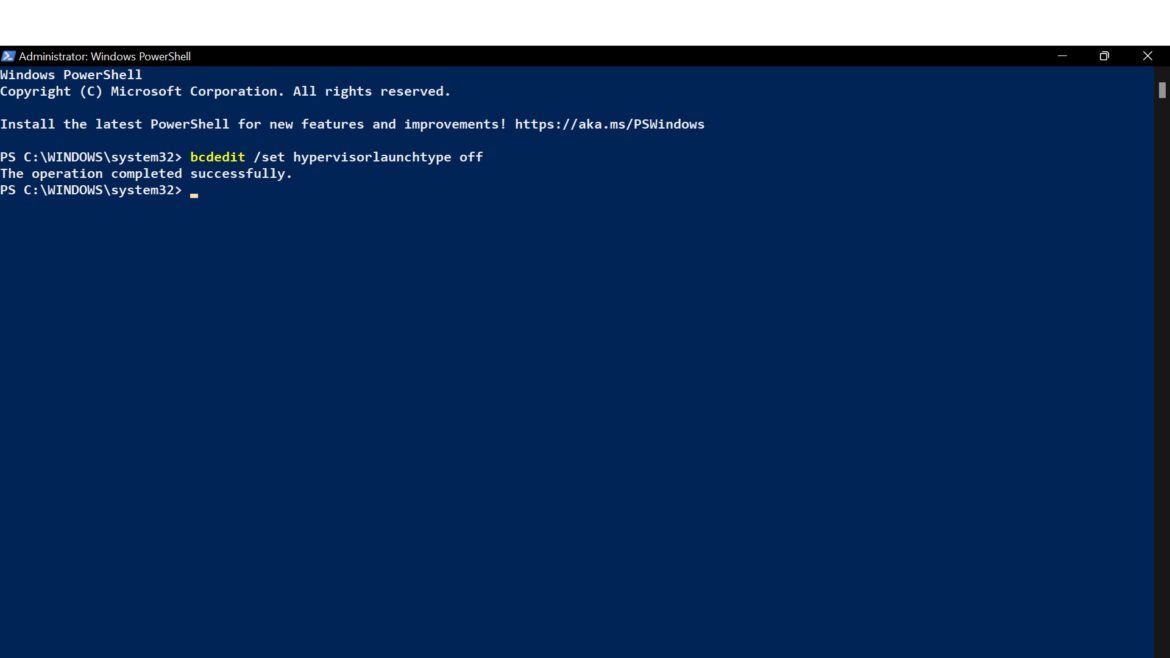
2. As checked from above that the VBS feature has been turned on, then open PowerShell with admin rights > enter “bcdedit /set hypervisorlaunchtype off” and press enter key.
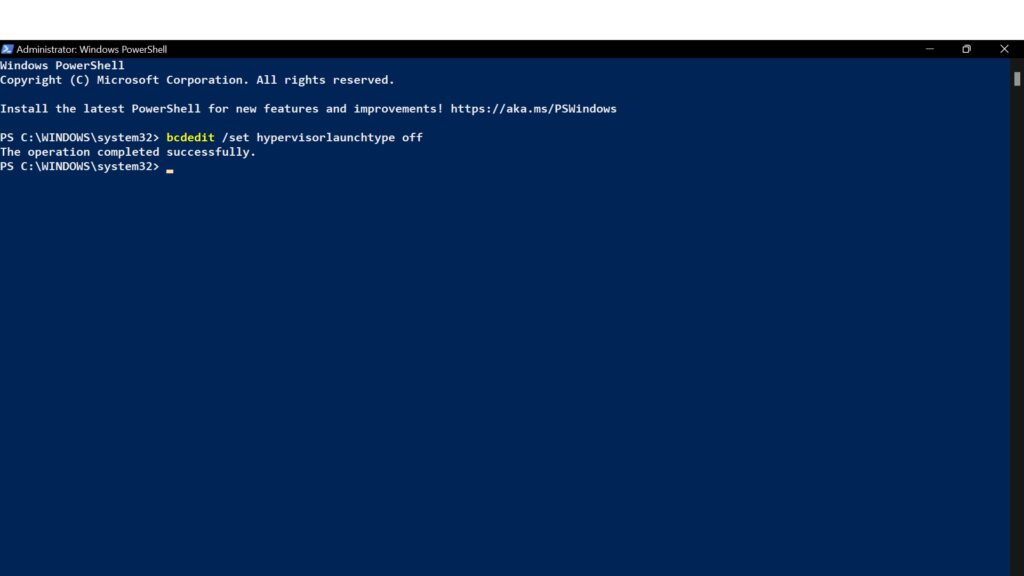
3. If you see saw the message same as above then proceed to reboot your device.
4. Once you’ve completed the reboot repeat the step 1 to check the VBS status, if you saw the VBS feature still being turned on then you should move to step 5.
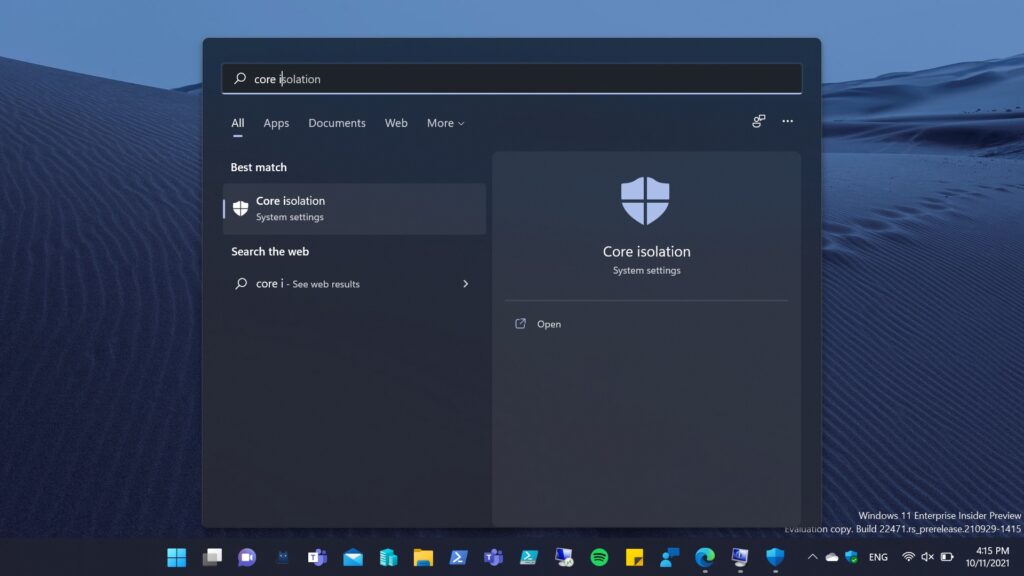
5. Press Windows logo key + S > search for “Core isolation” and open it.
6. You should opened up the Windows Security UWP app and saw the “Memory integrity” option > then toggle the switch to turn it off.
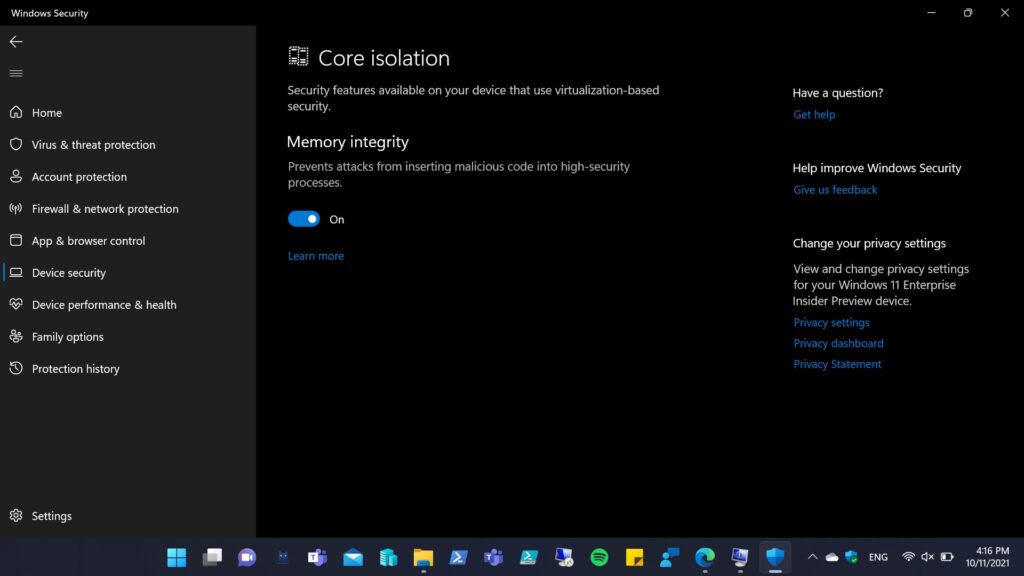
7. When you turned off or saw the notification from lower right corner, then proceed to restart your device.

8. Then you may repeat the step 1 to check the VBS feature status and it should show as “Not enabled” as below screenshot.