When you created VMs (Virtual Machine) on Azure cloud its always vulnerable if you intend to access from the internet. Especially those VMs are Virtual Desktop Infrastructure and intend for end user to be accessed from anywhere with RDP protocol. To protect your VMs from unauthorized network access, you can enable just-in-time (JIT) feature on Azure cloud. (JIT now is renamed as “Microsoft Defender for Cloud’s just-in-time”).

JIT works as rules created on Firewall, which can allow or deny inbound traffic to access your VMs. By enable JIT feature on Azure cloud you can prevent unauthorized access to your VMs even opened with RDP port 3389. As it required a specific IP address with desired protocol or port to allowing user to access the resource. Hence, it also prevent brute force attack to your VMs.
Generally, there two way that you can enable JIT feature on Azure once you turned on JIT feature. Either from Azure Portal manually each time or via PowerShell. (Note, the JIT is a premium feature available only in Azure Security Center’s standard tier. The price is based on the number of VM and workloads in your environment.)
In the following I will demonstrate the manual way as it way more simple than the PowerShell script with more fault-tolerance. (For enable JIT via PowerShell script you may check the reference at the end of post)
1.Access to Azure Portal > go to Virtual Machines from the left menu.
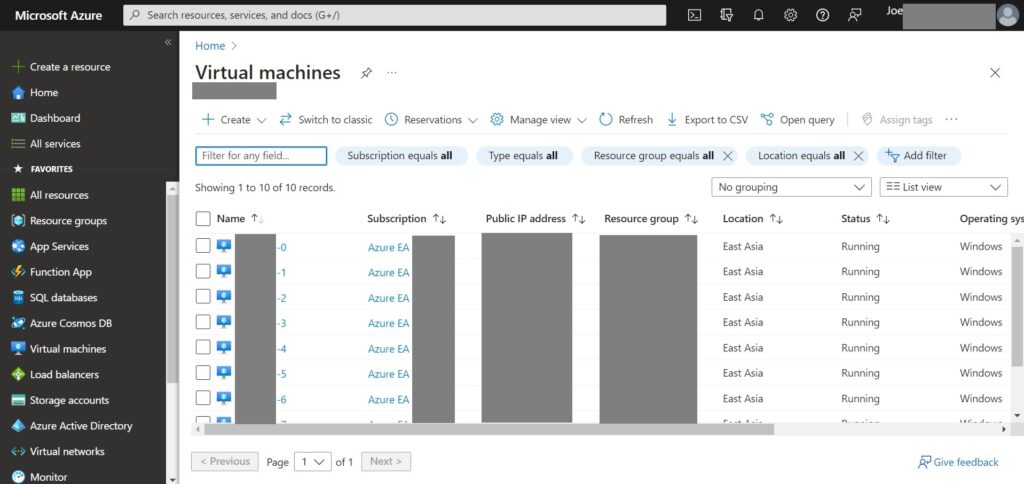
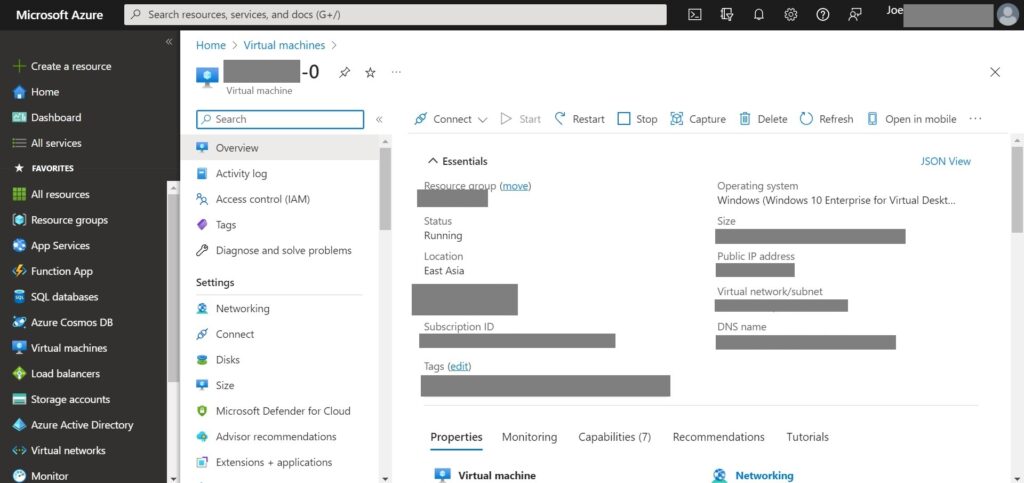
2.Select desired VM from the list.
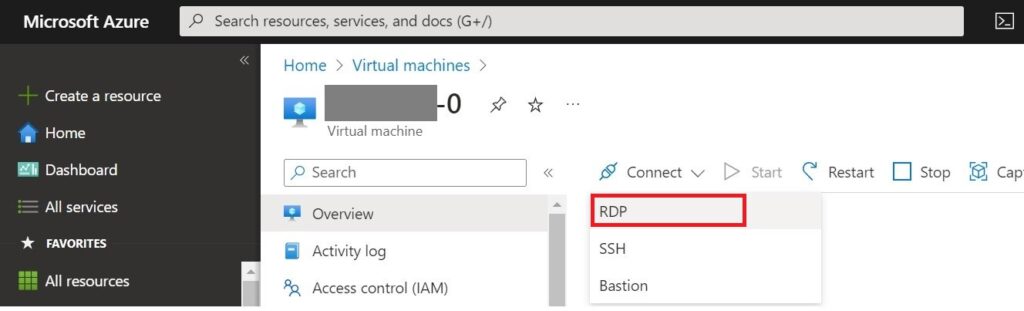
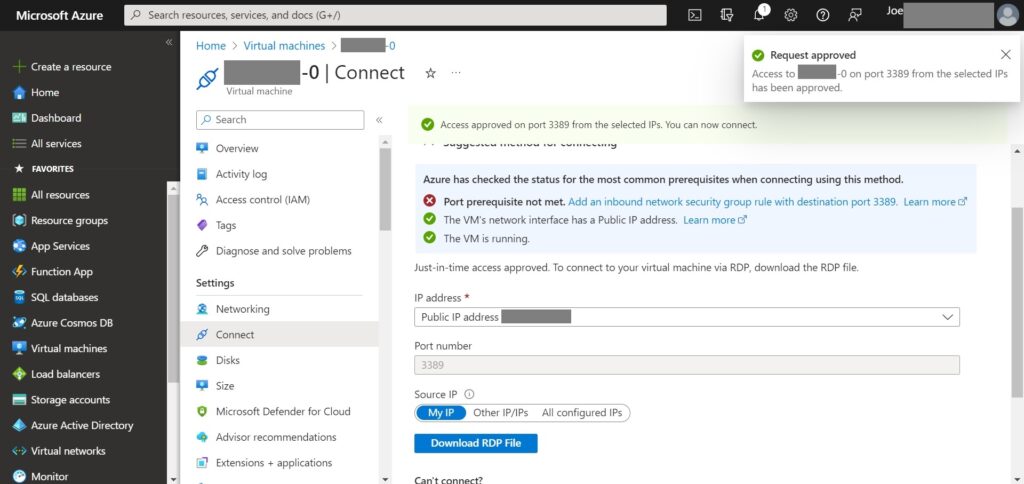
3.Click “Connect” > select desired protocol in my case “RDP”.
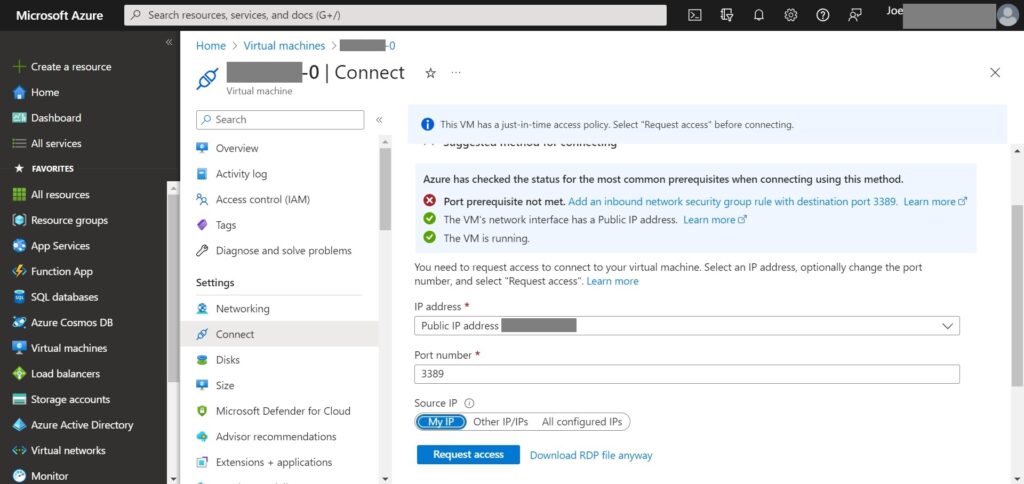
4.Select whether access from DNS name or Public IP address or Private IP address, in my case “Public IP address”.

5.Select the source whether from My IP or Other IP/IPs or All configured IPs, in my case just “My IP” > Click “Request access”.
6.Successfully if you saw “Request approved” notification.
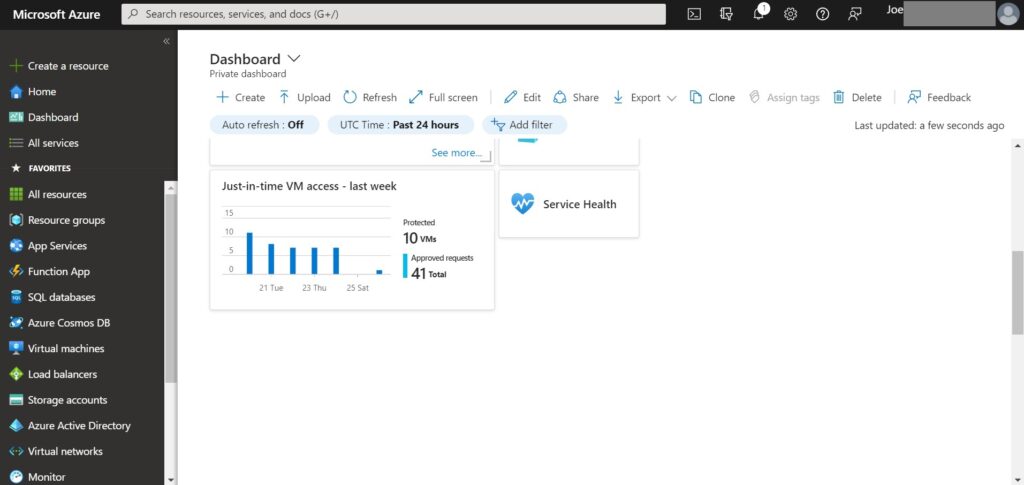
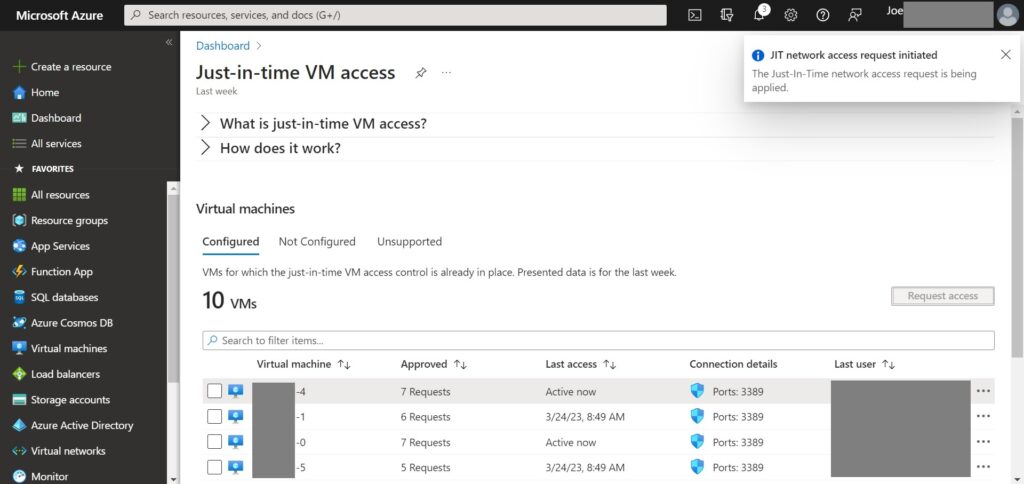
However, for scenario which require enable JIT on multiple VMs you may perform via the Dashboard. Once you’ve added JIT onto the Dashboard you can follow below steps:
1.Click JIT widget from the Dashboard on the left menu.
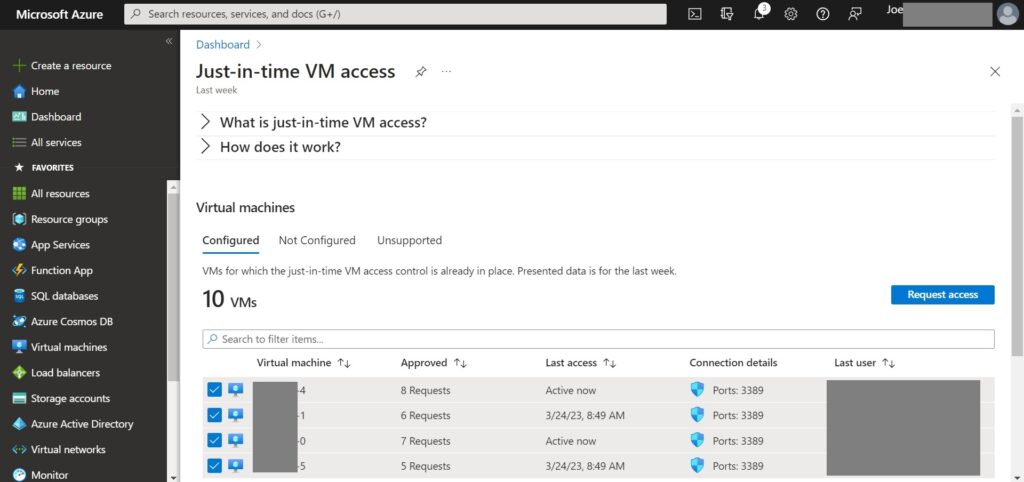
2.Select one or more VMs from the list > click “Request access”.
3.Select the desired protocol for access along with relevant ranges, in my case enable RDP > click “Open ports”.
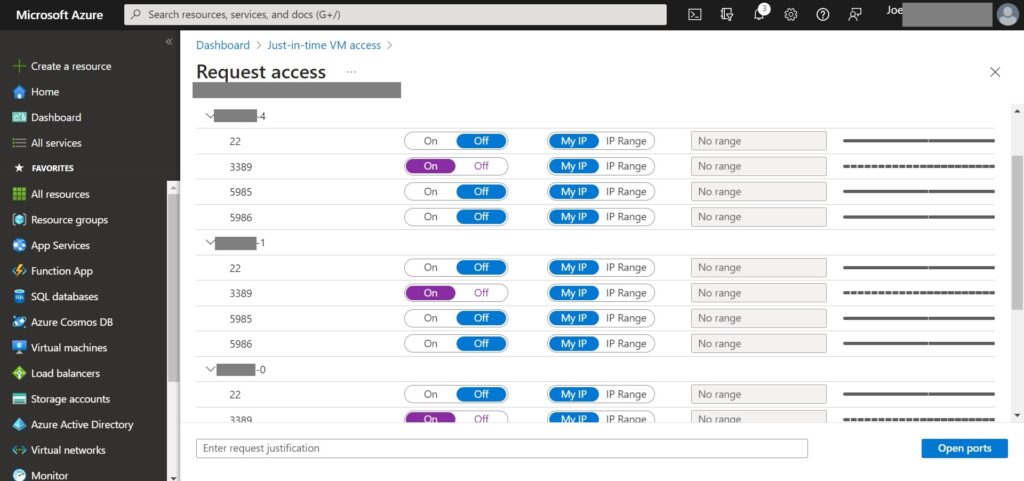
4.After that you should saw a notification either saying “JIT network access request initiated” or “Request approved” on the right corner.
Note: JIT does not support VMs protected by Azure Firewalls controlled by Azure Firewall Manager. The Azure Firewall must be configured with Rules (Classic) and cannot use Firewall policies.
Check out the following links for further info:
https://learn.microsoft.com/en-us/azure/defender-for-cloud/just-in-time-access-usage
https://learn.microsoft.com/en-us/azure/defender-for-cloud/just-in-time-access-overview?tabs=defender-for-container-arch-akshttps://azure.microsoft.com/en-us/blog/announcing-the-just-in-time-vm-access-public-preview/


One thought on “How to using Just-In-Time (JIT) feature on Azure”