Microsoft Teams PowerShell module is a set of cmdlets for managing Teams directly from the PowerShell command line. You can using these cmdlets to more efficiently to manage your Teams workload and perform automation tasks. As a Teams Service Administrator you will have a lots of task require you to interactive with MS Teams PowerShell module. In this post I’ll demonstrate how to install Microsoft Teams PowerShell module and give you a start point.
Requirements
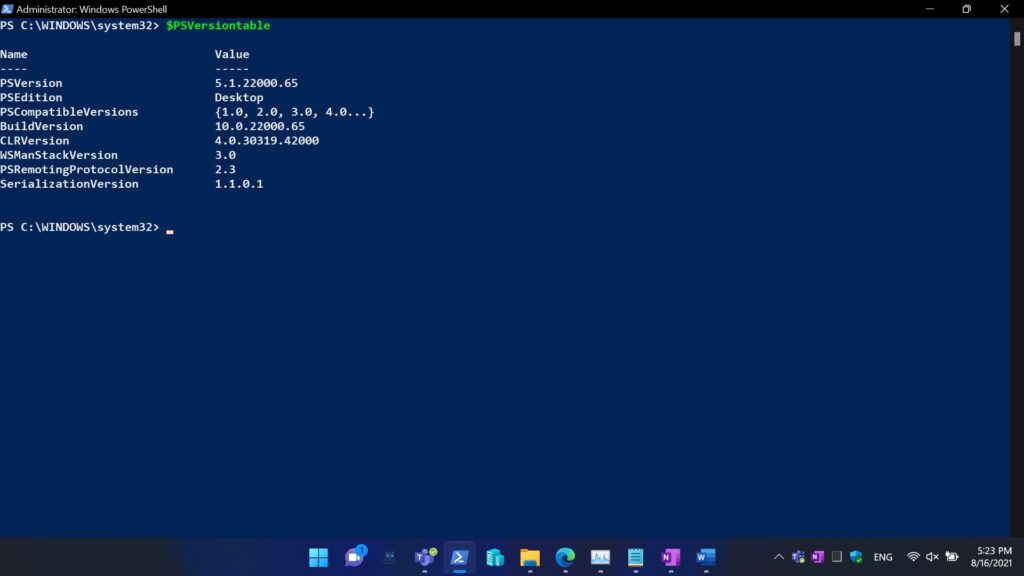
- You PowerShell version must be 5.1 or higher. (If your current OS is Windows 10 then you already have PS version 5.1, for checking your current PS version simply enter “$PSVersionTable”)
- An Azure AD with Teams Communication Administrator role or Teams Service Administrator role assigned.
Install Microsoft Teams PS Module
- Run the PowerShell with elevated admin rights enter “$PsVersionTable” to view your current PowerShell version. (Even though if you are running Windows 11 it is same PS version Windows 10.)
2. Enter “Install-Module -Name MicrosoftTeams -RequiredVersion 2.3.1” in the PS window > Press Y or A to trust the repository. (If you’re first time install the module you being prompt to install the NuGet provider, just enter “Y” to accept.)

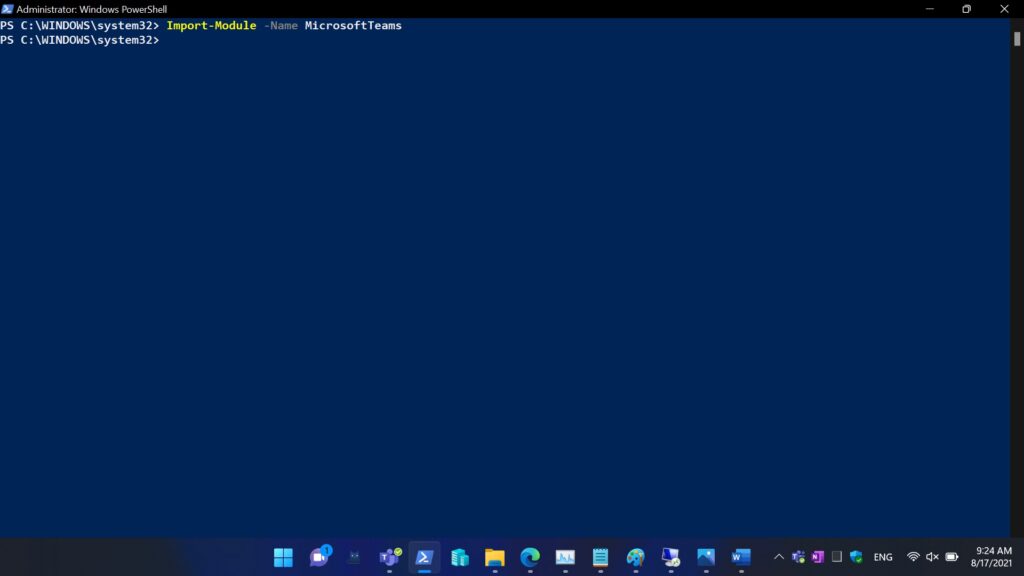
3. Enter “Import-Module -Name MicrosoftTeams” in the PS to import the module.
Sign in via Microsoft Teams PS Module
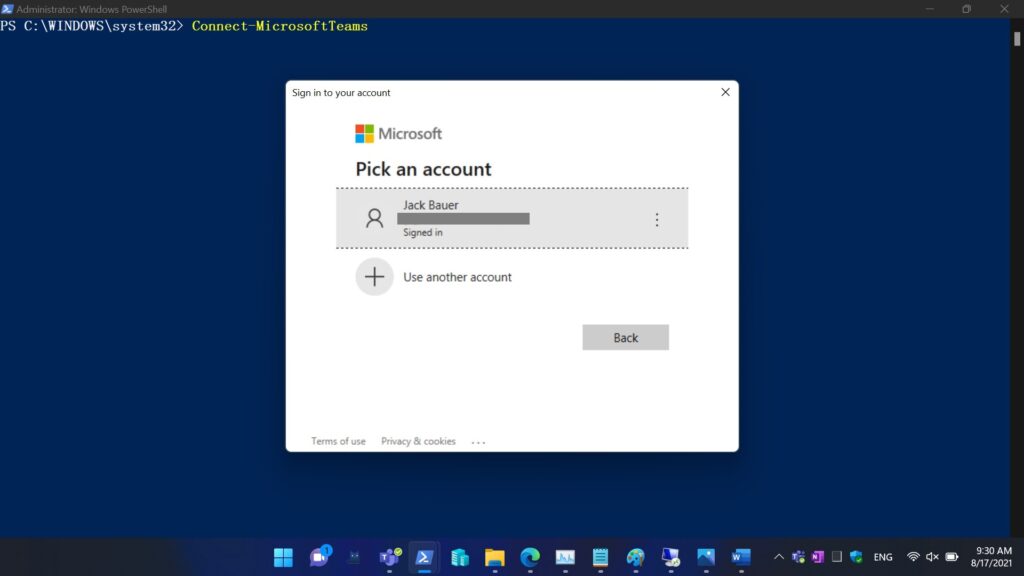
4. Enter “Connect-MicrosoftTeams” cmdlet and press enter. After you saw a login windows pop up, enter the Azure AD account with Teams Communication Administrator or Teams Service Administrator role assigned.
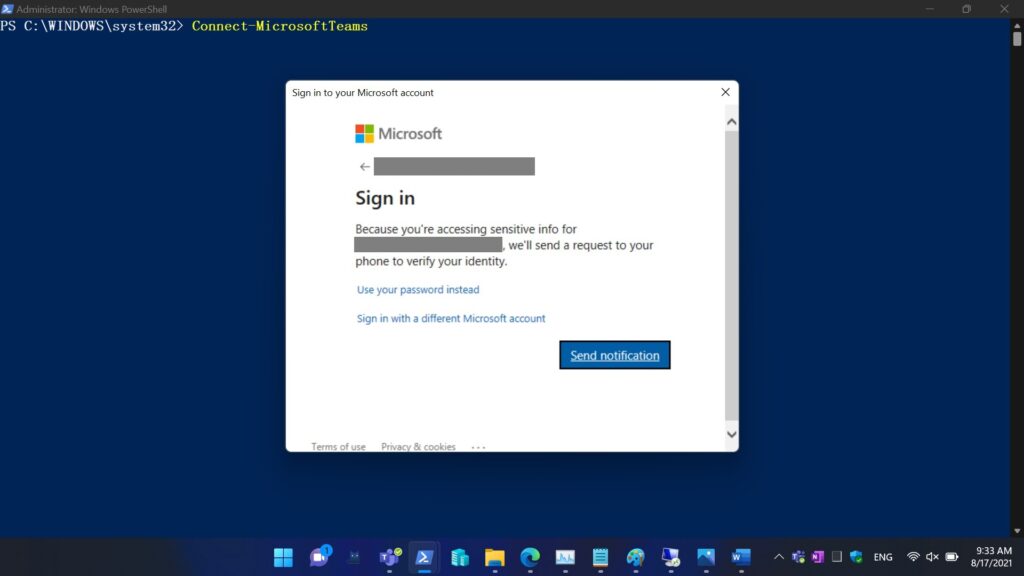
5. Authenticate with your credential or with other method if you enabled MFA with the AAD account. (In my case I just need to send notification to authenticate with my phone).
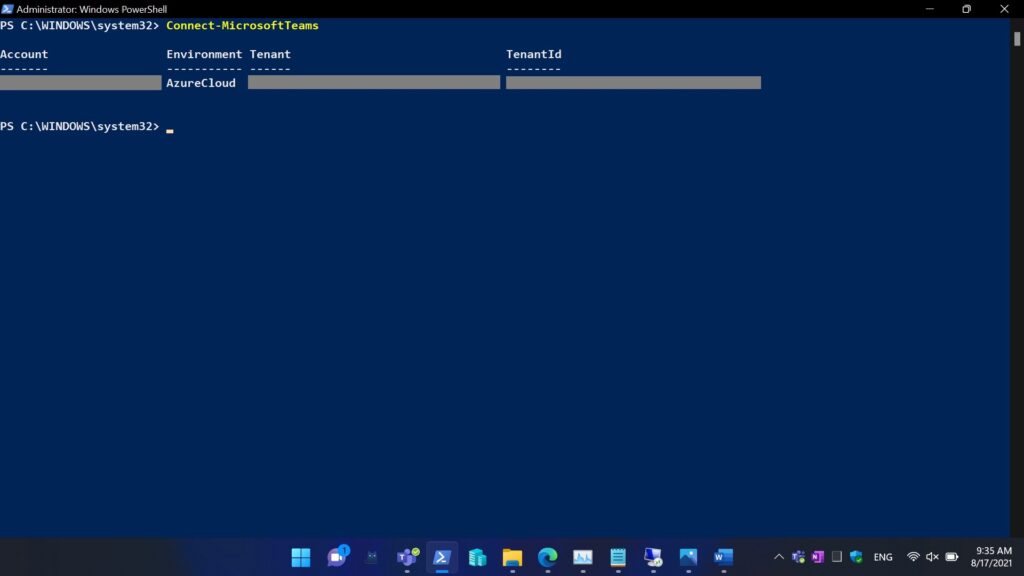
6. After you’ve authenticated successfully, you will see the following info with Account / Environment / Tenant / Tenant ID separately.
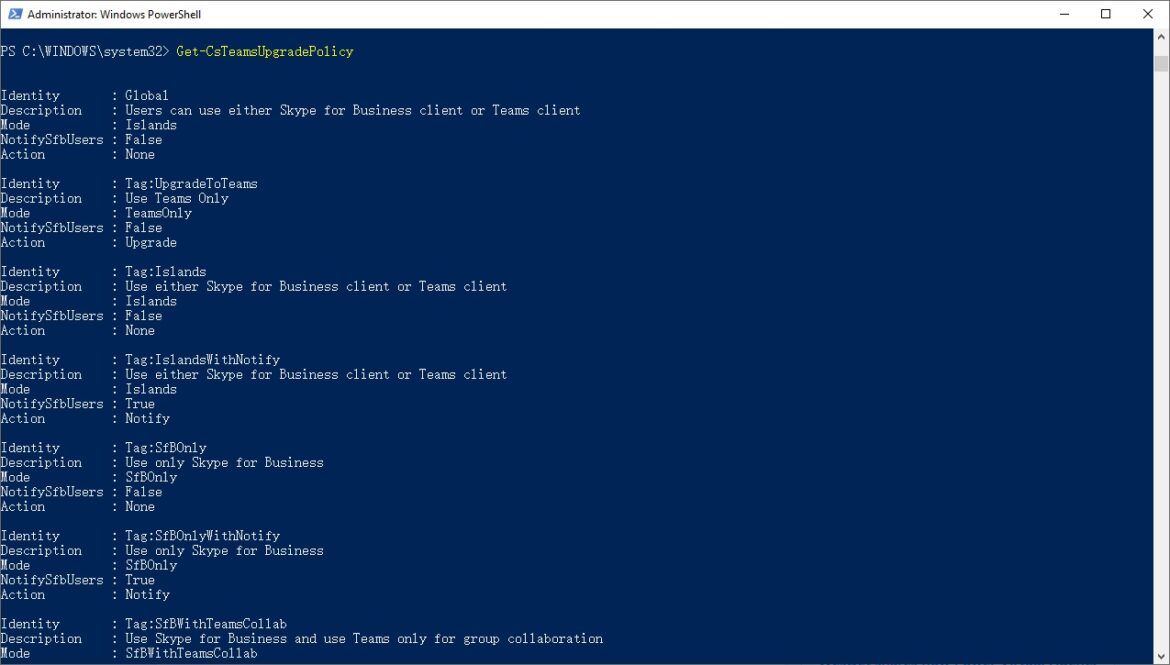
7. Then, you can try to using PS cmdlets to managing Microsoft Teams. You could try to enter with “Get-CsTeamsUpgradePolicy” to view which Coexistence mode has been assigned to your Tenant.

When you first try to install the Microsoft Teams PowerShell module, you better go with “Install-Module -Name MicrosoftTeams -RequiredVersion 2.3.1” which specifying to install the current version of Teams PowerShell module. Otherwise, you might potentially install a preview version which will cause some trouble. Recently, as per my test if installed the Teams PowerShell module with 2.5.0 version you cannot perform any actions after you’ve entered “Connect-MicrosoftTeams” cmdlet.
And if you find yourself cannot run “Install-Module MicrosoftTeams” cmdlet like below screenshot, then you should check your PowerShell ExecutionPolicy to change it to “RemoteSigned”.

To verify whether a module has been installed on your computer you could enter “Get-Module” to view the version and details. As you can see that on my Windows 11 computer it was installed with a version 2.5.0. As I’ve mentioned above it is not recommended to install this version better to go with 2.3.1 (current version)

For a list of available Microsoft Teams PowerShell cmdlets you may refer to this link: MicrosoftTeamsPowerShell Module | Microsoft Docs