As a certified Microsoft Teams administrator, we’ll need to constantly following up with the changes made within Teams product. The public preview provided a great way to allow us to explore and test upcoming features, so as Teams admin we can properly evaluate how the changes could affecting our entire organization and provide valuable feedback to MS.
In the following I’ll demonstrate how to enable public preview in Microsoft Teams. Don’t worry, the public preview is enabled on a per-user basis, and the option to turn on public preview is controlled by Teams admin via Teams admin center with an admin policy. Which means it will not impact to your entire organization.

How to set the Update Policy in Teams Admin Center
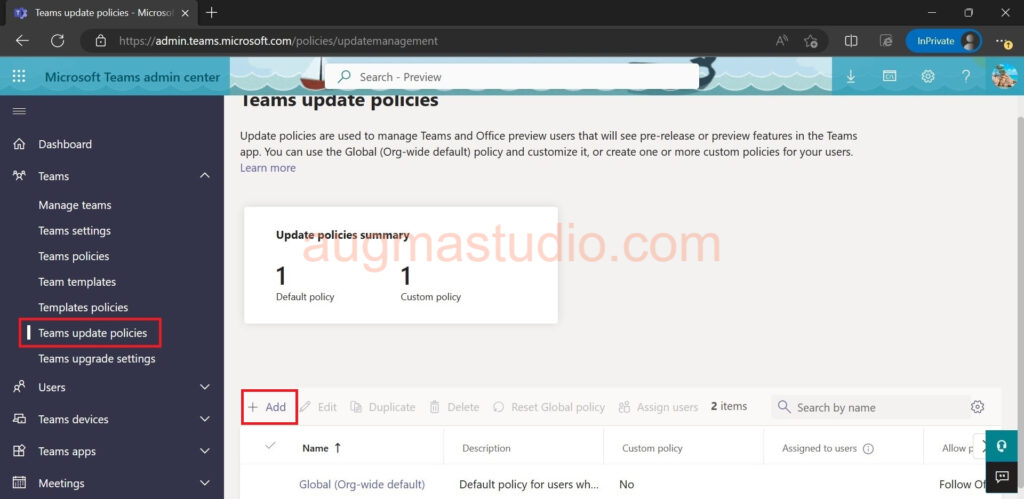
The update policies are used to manage Teams and Office preview users who will see pre-release or preview features in the Teams app. So, we need to create an Update Policies for this before enabled on specific user’s client.
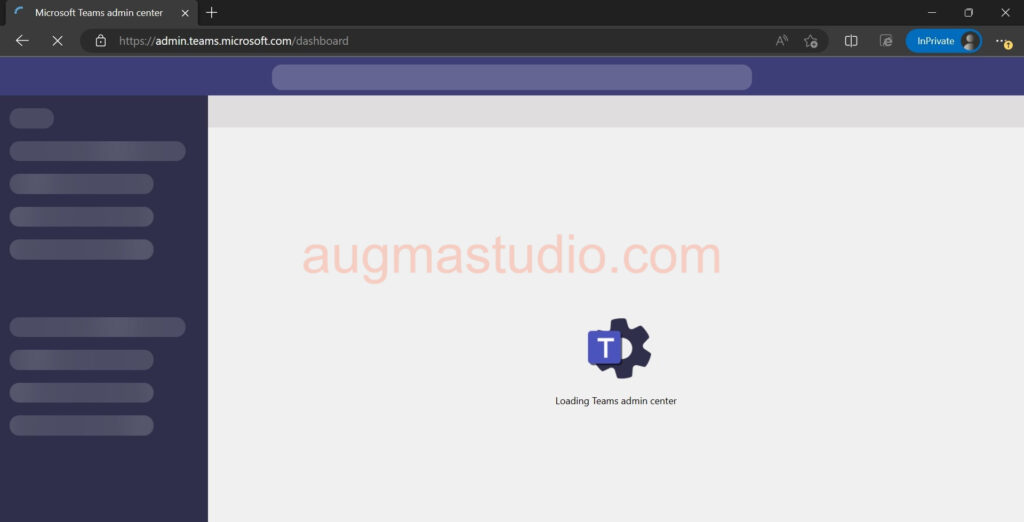
1.Access Microsoft Teams admin center Using your account with “Teams Administrator” role assigned.
2.Select Teams > Teams update policies from left panel.
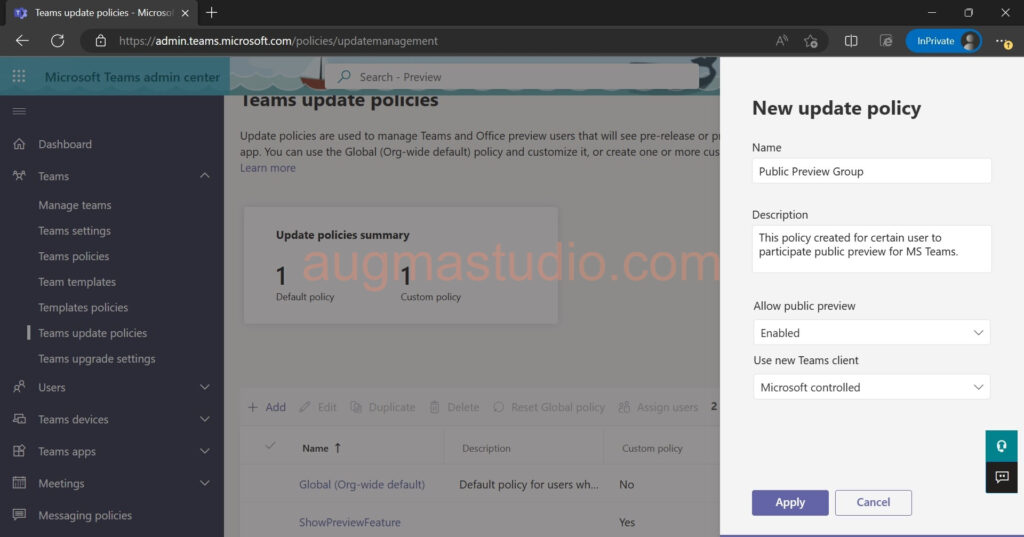
3.Click Add > create a new update policy > name the update policy > add a description > select Enable under “Allow public preview”.

4.Select “Microsoft controlled” under “Use new Teams client” > click Apply.
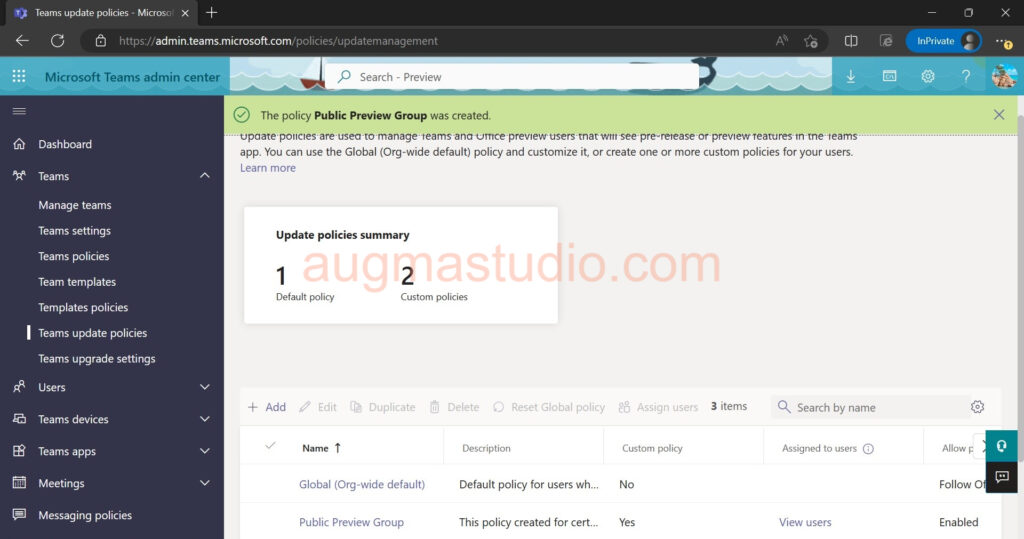
5.After received the notification from the top, you should see the update policy in the list below.
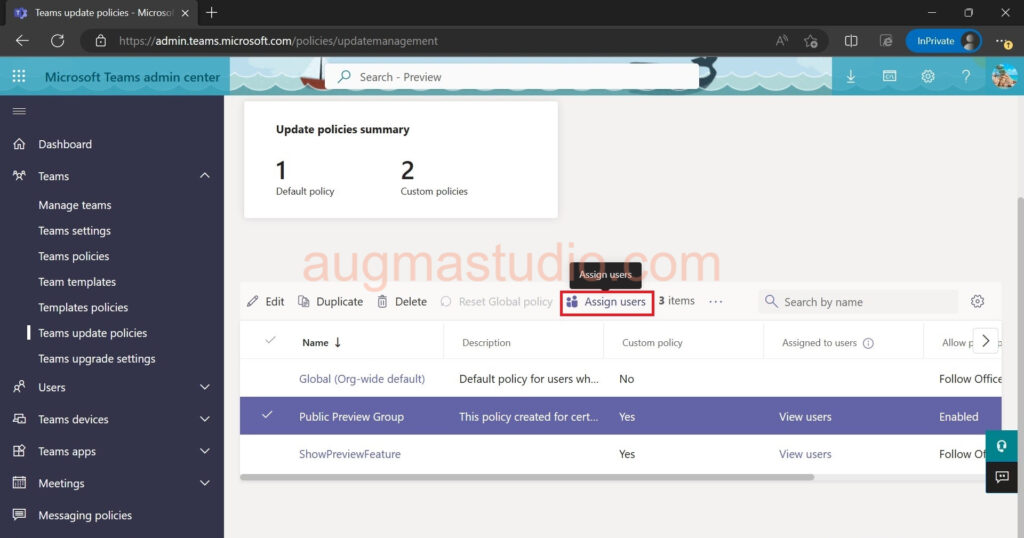
6.Click on the update policy which you’ve just created > click “Assign users”.
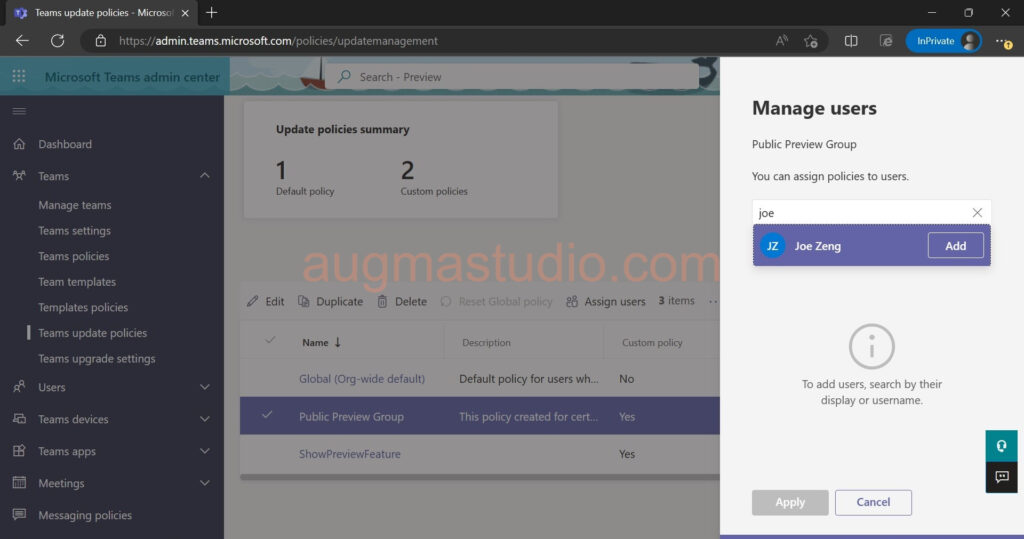
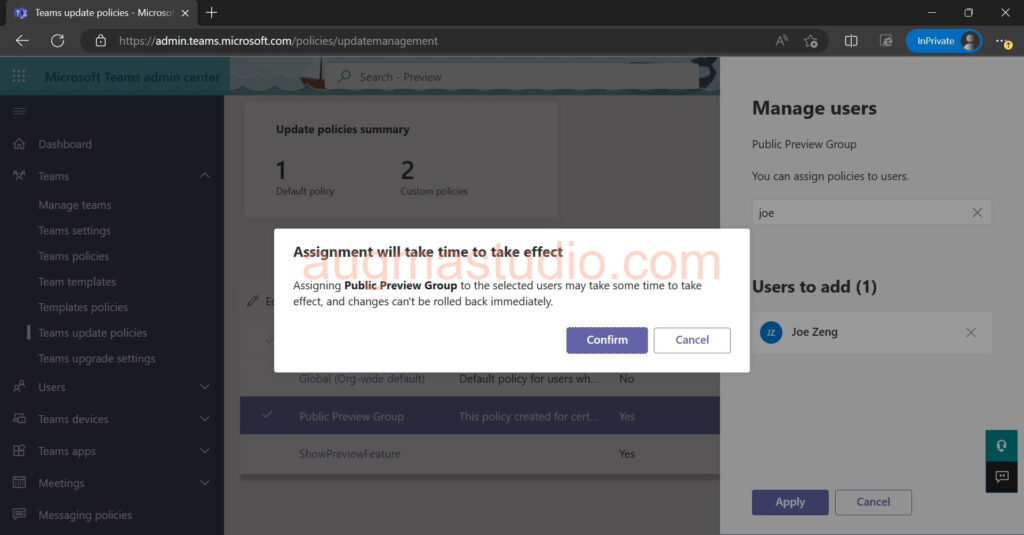
7.Assign the update policy to a desired user from the search box > click Add > Apply.
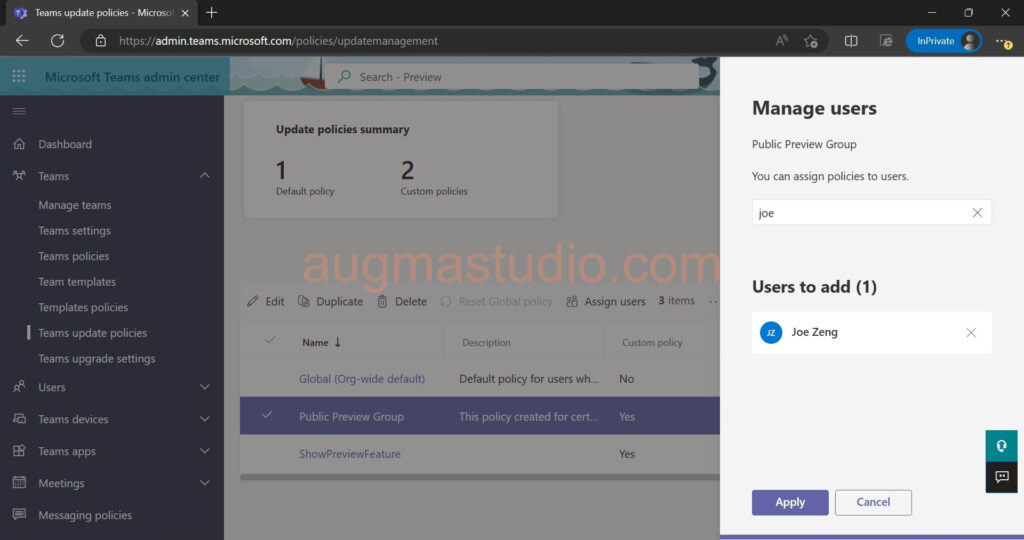
8.Click “Confirm” from the prompt to apply.
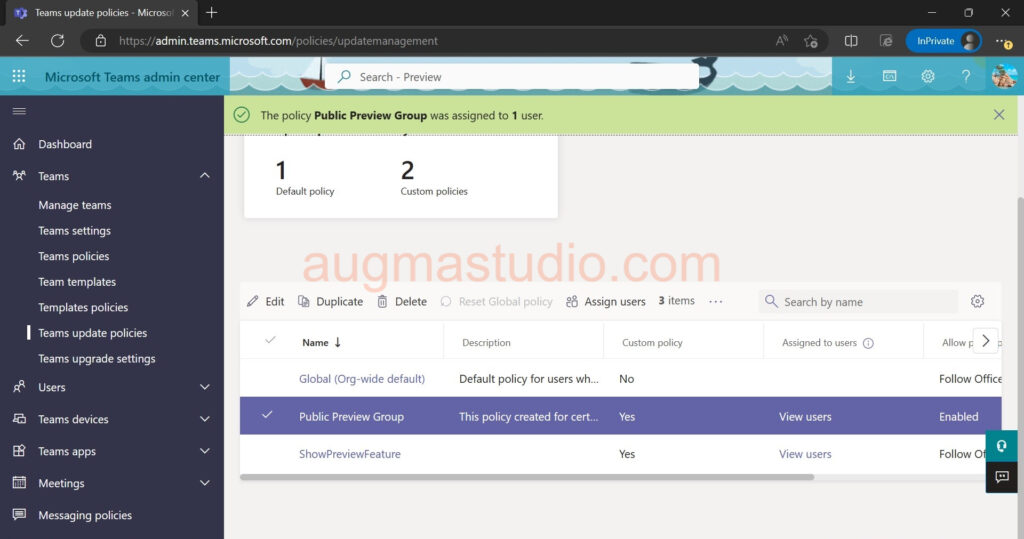
9.If all good then you will receive a notification from the top.
Enable public preview on Teams desktop client
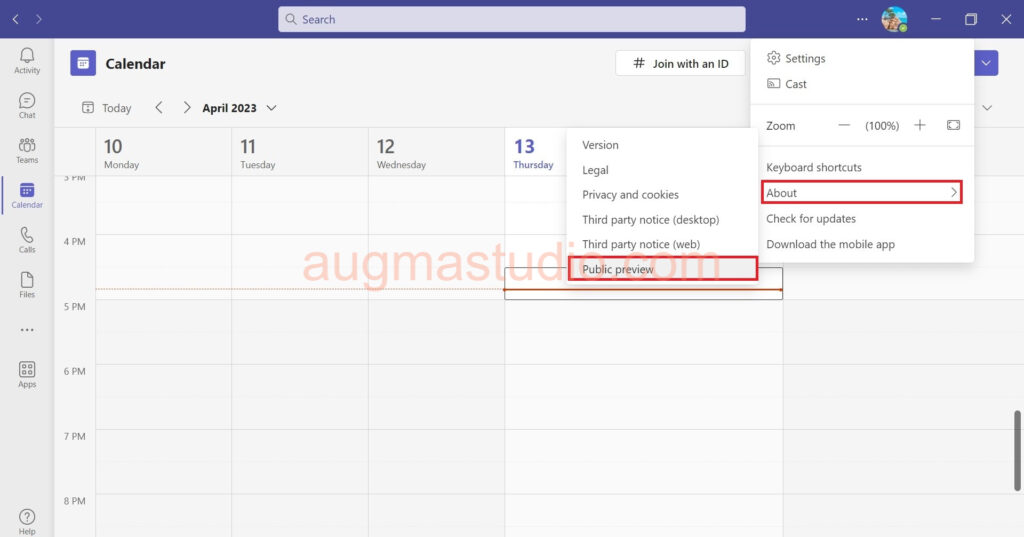
1.After the update policy was assigned to the desired user, then proceed this on Teams desktop client with him/her account > Click About > Public preview. (Note, this option is only available when the “Allow public preview” is set to Enabled.
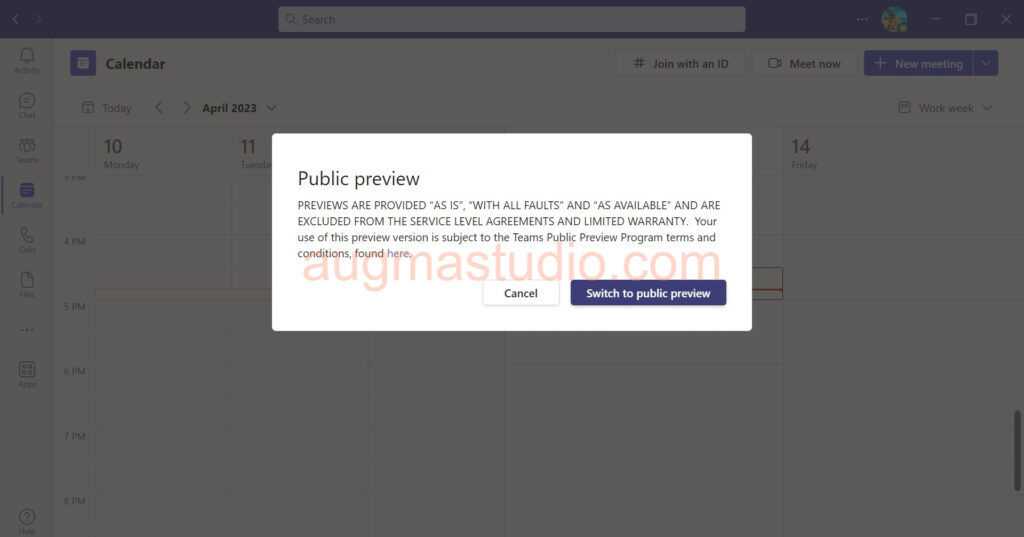
2.Select “Switch to public preview” from the prompt.
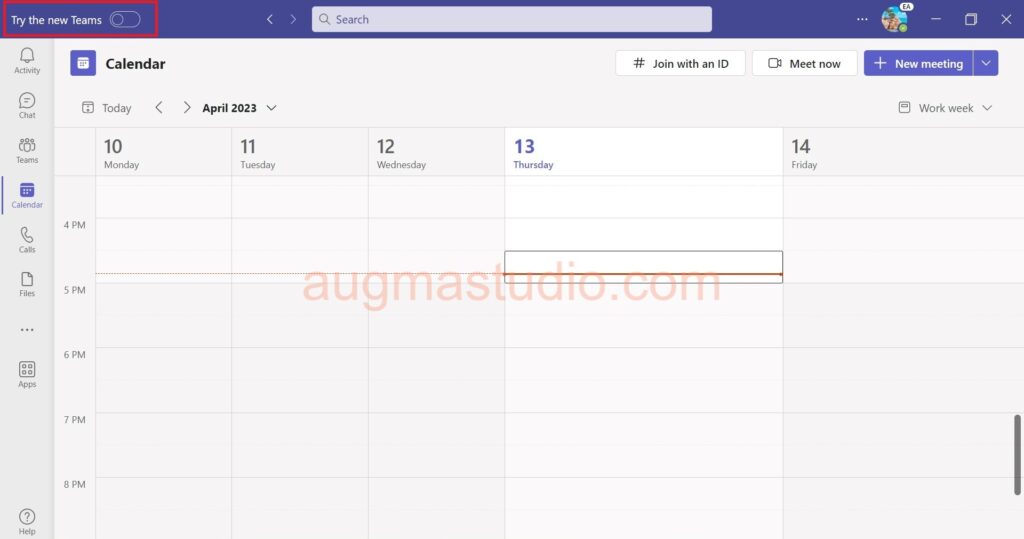
3. Toggle on from the upper-left corner with “Try the new Teams” option. At this point, your avatar will add “EA” tag to indicate that this account have Early Access to Teams features.
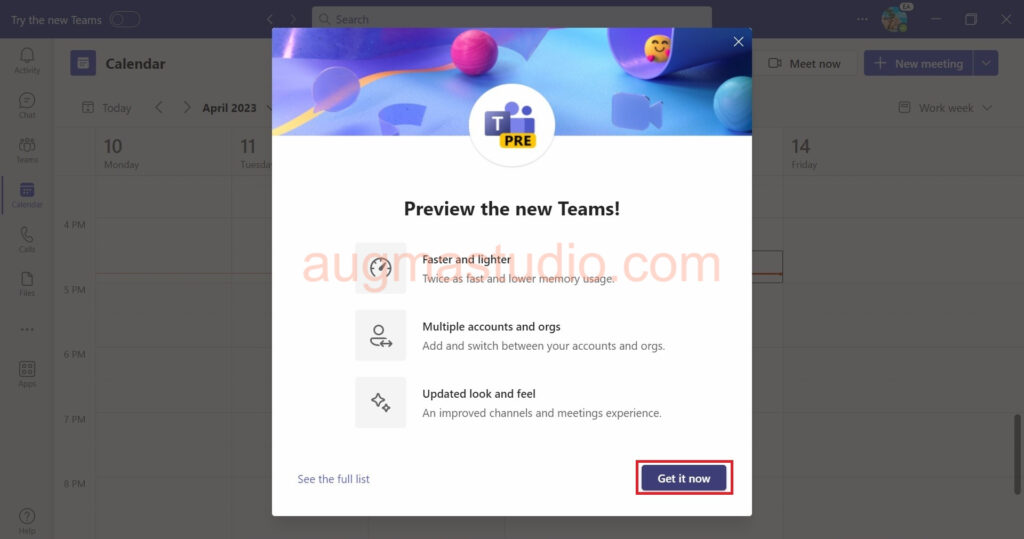
4.Click “Get it now” to download the new version of Teams desktop client.
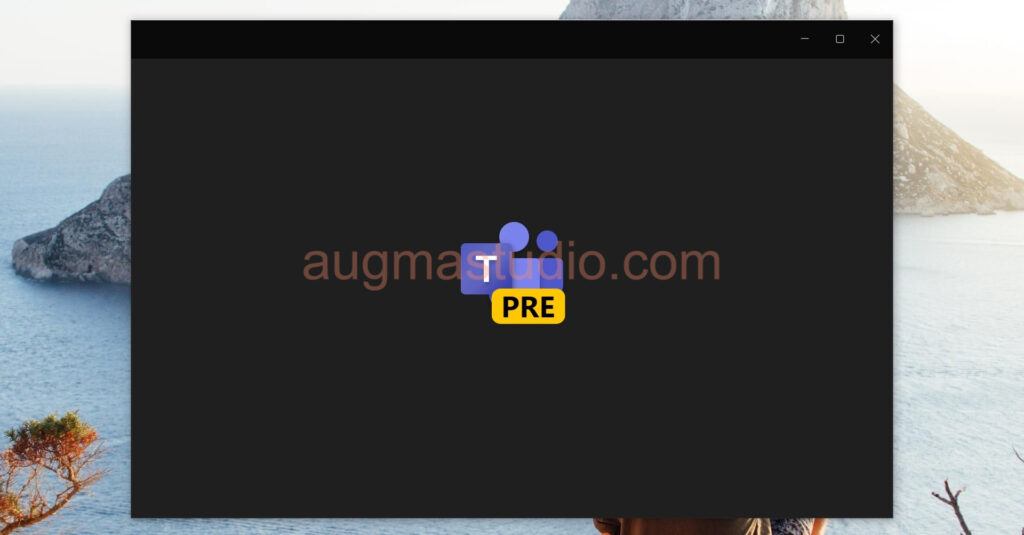
5.You should saw a banner says “The new Teams is downloading…”.

6.When finished, it will automatically install and re-load.
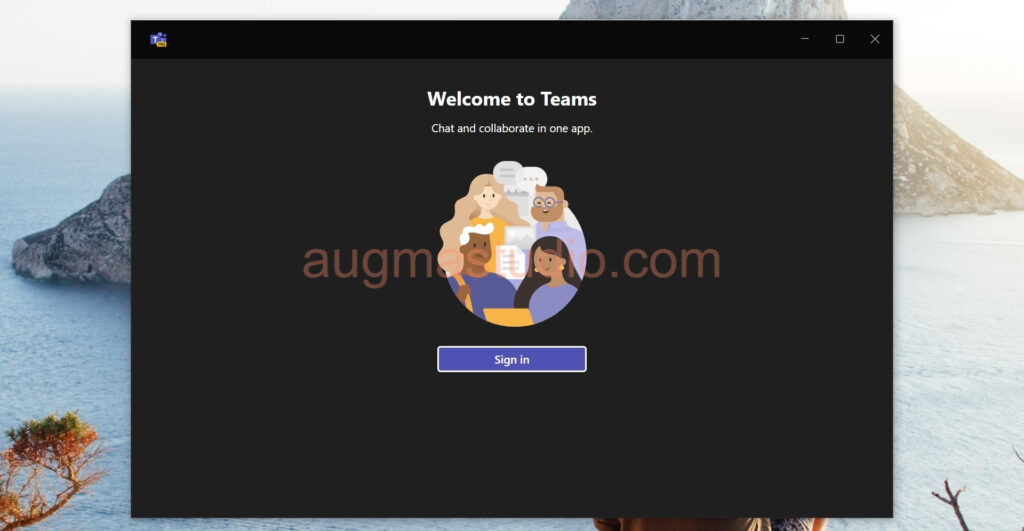
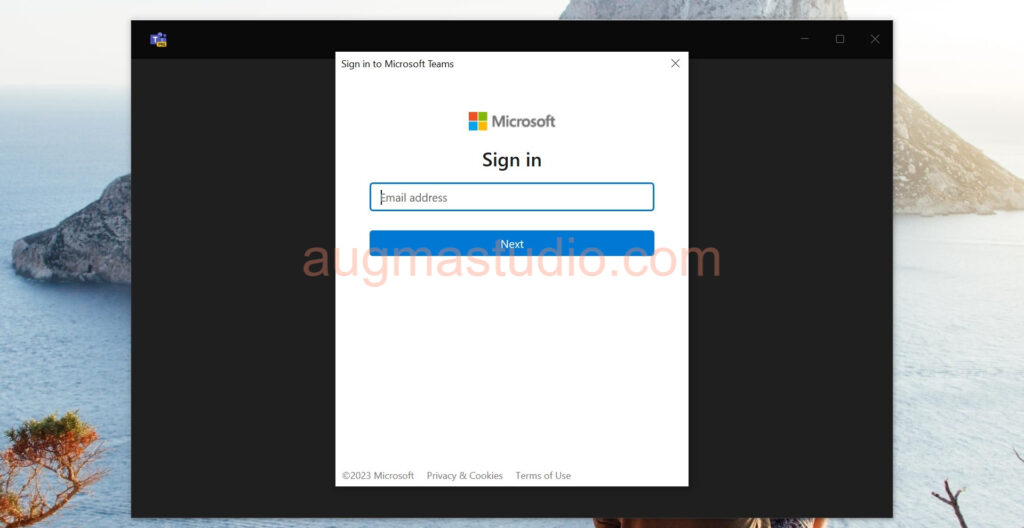
7.Click “Sign in” button.
8.Enter your email address > hit Next.
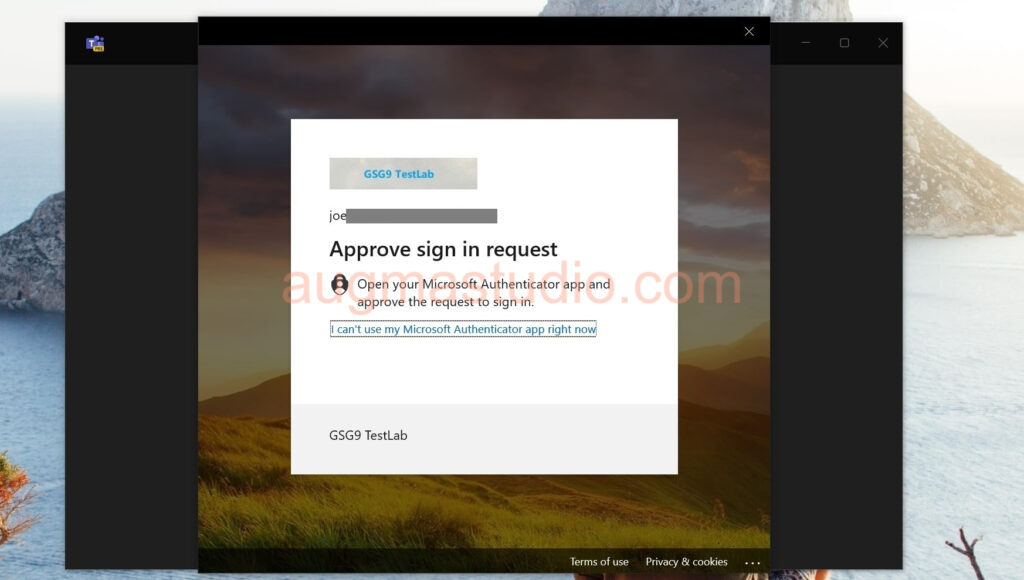
9.Enter your password and authenticate via MFA.
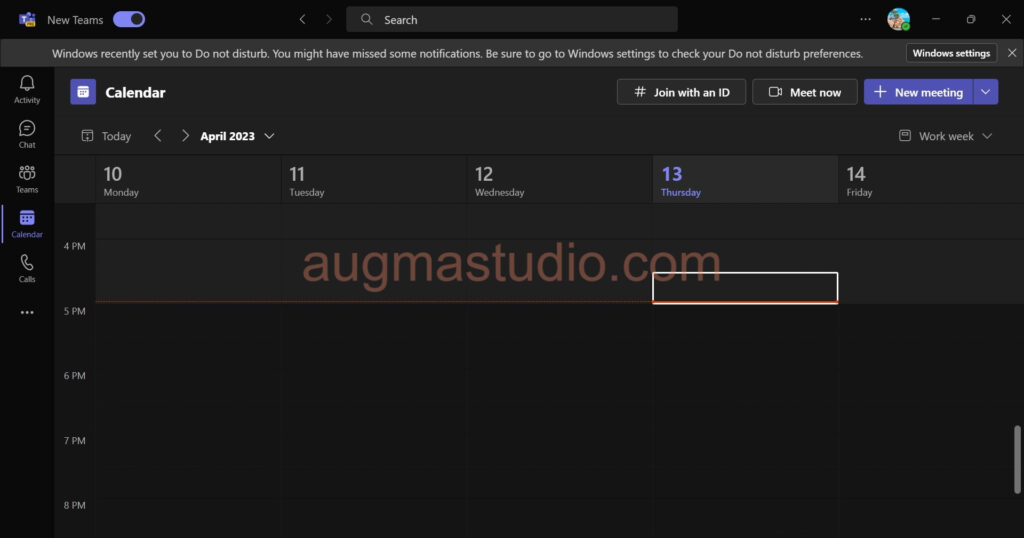
10.By now, you should be able to using the new Teams desktop client.
Things to keep in mind when using public preview
Features included in preview might now be complete and could undergo changes before becoming available in the public release. And they’re provided for evaluation and exploration purposes only. For Office 365 Government Community Cloud (GCC) the preview features are not supported.
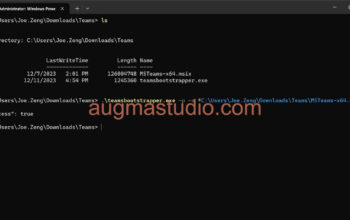
For Teams admin who play with Teams PowerShell module a lot, you may using cmdlet “Set-CsTeamsUpdateManagementPolicy” with “-AllowPublicPreview” parameter to set the update policy.
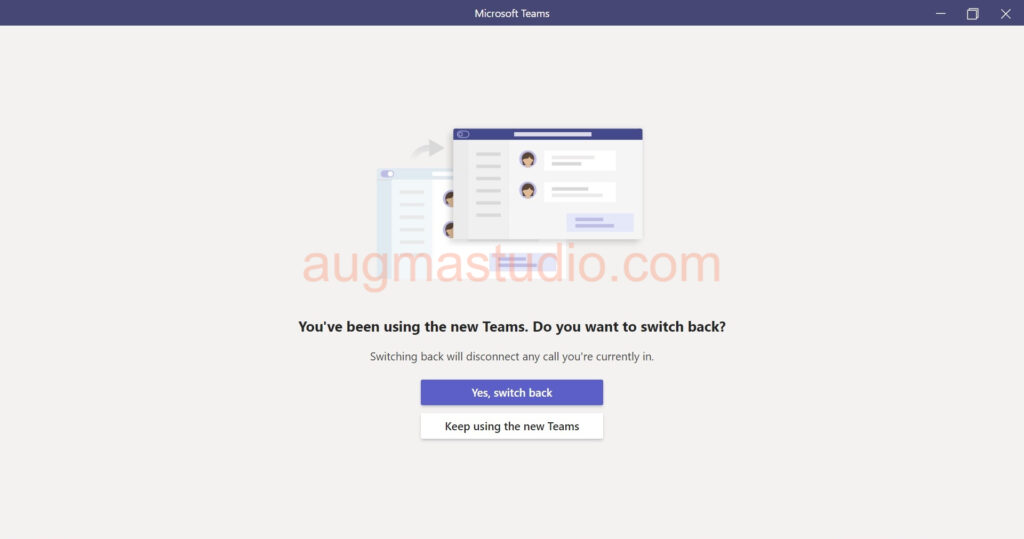
You may switching back from the new Teams desktop client at anytime when you toggle off the option on the upper-left corner > then select “Yes, switch back”.
References
Microsoft Teams Public Preview – Microsoft Community Hub
Public preview in Microsoft Teams – Microsoft Teams | Microsoft Learn
The new Microsoft Teams desktop client – Microsoft Teams | Microsoft Learn