Reporting labels essentially are tags that used to indicate your physical location of offices, buildings in your organization. These tags are used by Call Analytics (per user level ) for generating reports viewed by agents who assigned with Teams Communication Support Specialist or Teams Communication Support Engineer role. They leverage the report to perform troubleshooting on Teams call quality issues (both calling and meetings).
The task to configure reporting label is quite easy, I mean really! Microsoft provides you with a template file (a .csv and .tsv format) then you fill the table accordingly and upload back to Teams admin center.
Let’s see how to configure in actions:
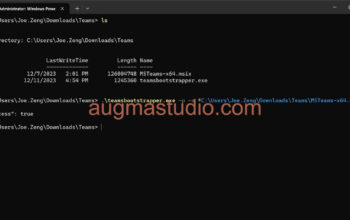
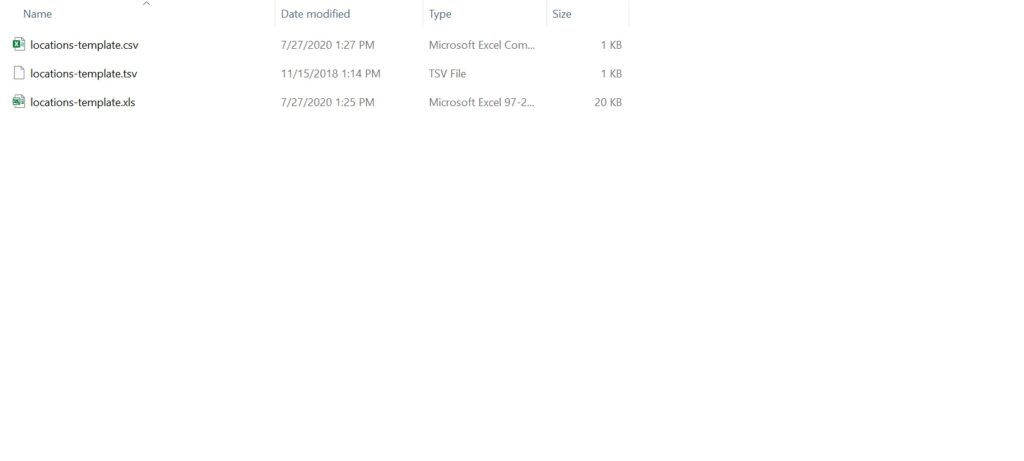
- Download the sample template from this link > Then extract the file to your current location. You will see there three files end with .csv, .tsv, .xls like below.
2. Due Teams admin center only support either .csv (comma separated values file) or .tsv (tab separated values file), suggest you edit the .csv file by default. However, if you have any trouble to edit the .csv you may edit with the .xls file and convert to .csv file.
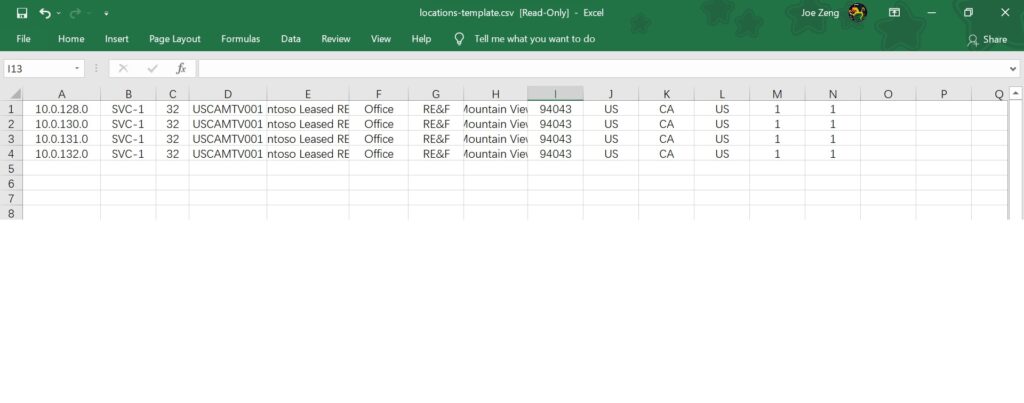
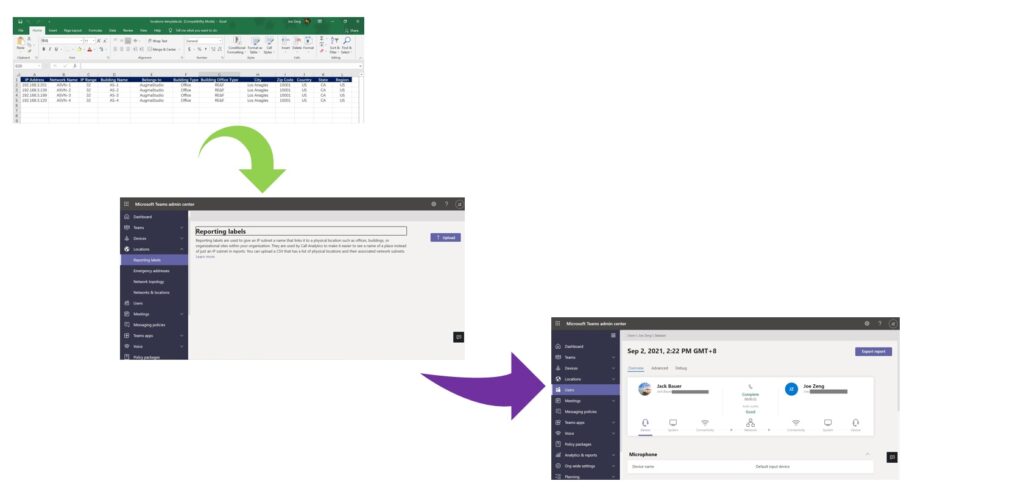
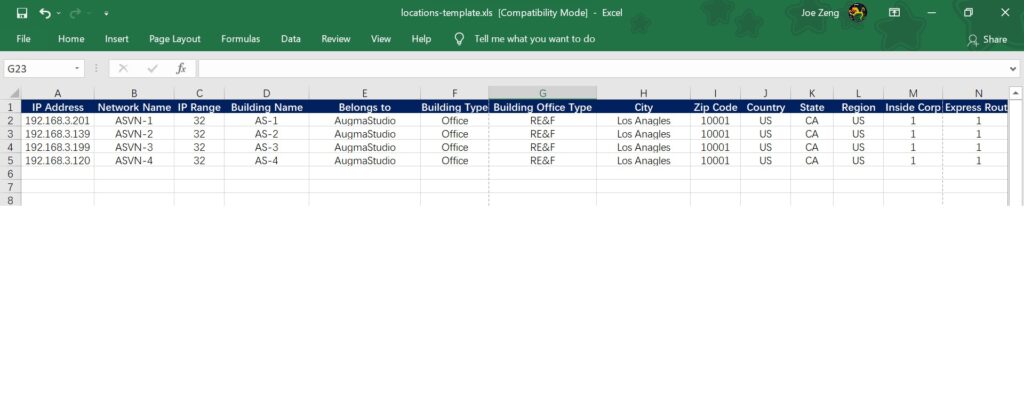
Wait for second, you probably curious how do I know which column refer to what it represents? And why there are not column headers in the template file? The answer is that you may refer to below sample to fill the table but you don’t need to contain the column headers.
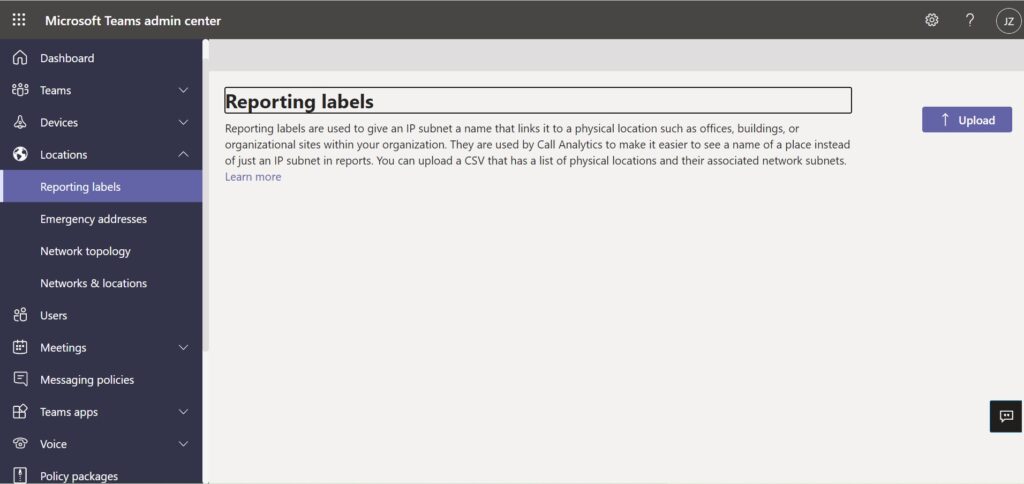
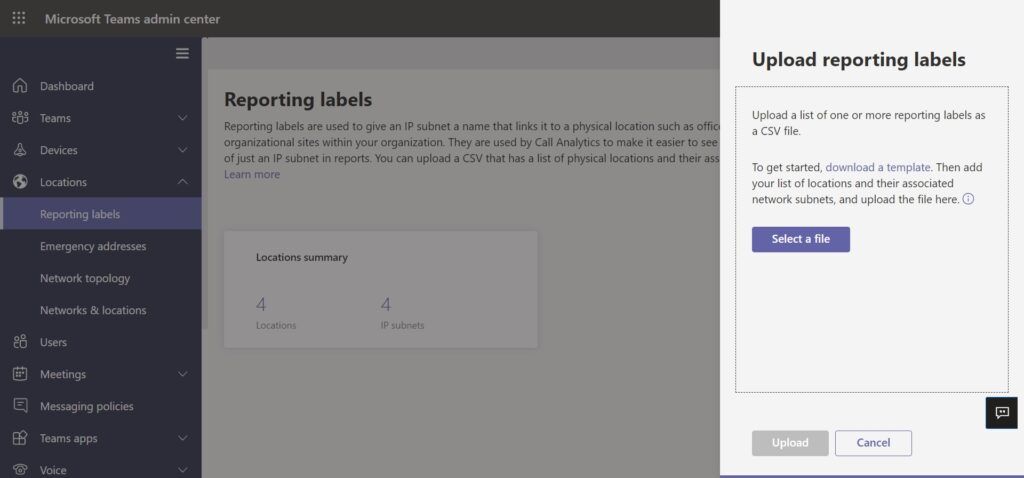
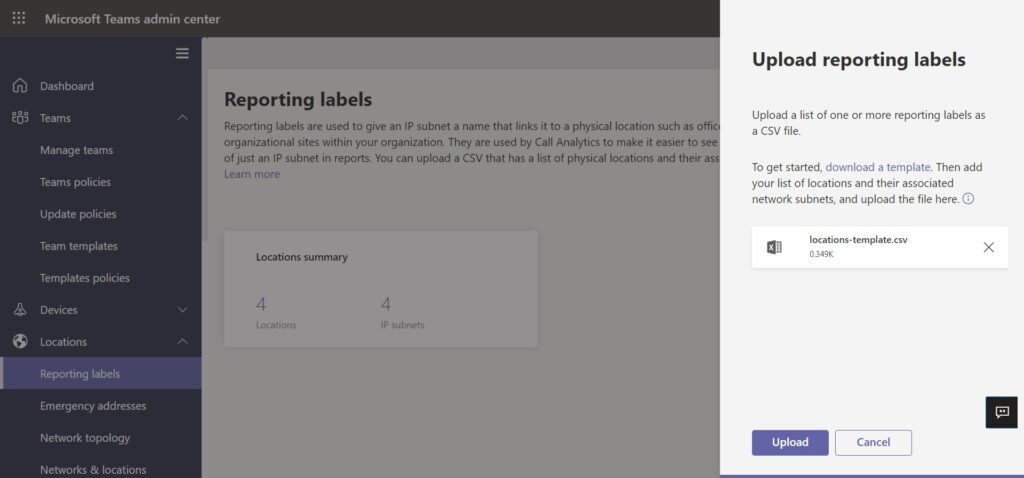
3. Once all data being filled and saved, login to Teams admin center from https://admin.teams.microsoft.com > navigate to the left side panel find “Locations” > expand and click “Reporting labels” > click “Upload” button on the upper-right corner > select the .csv file to and click “Upload”.
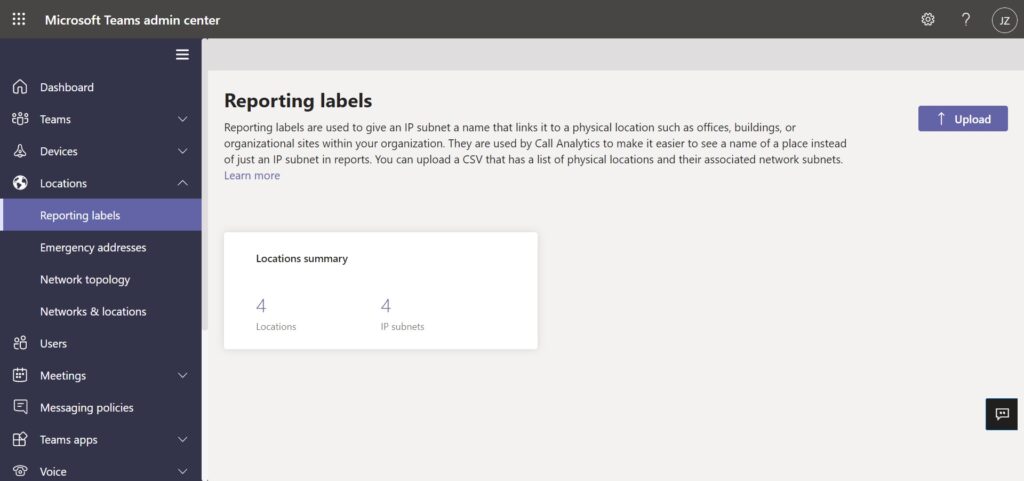
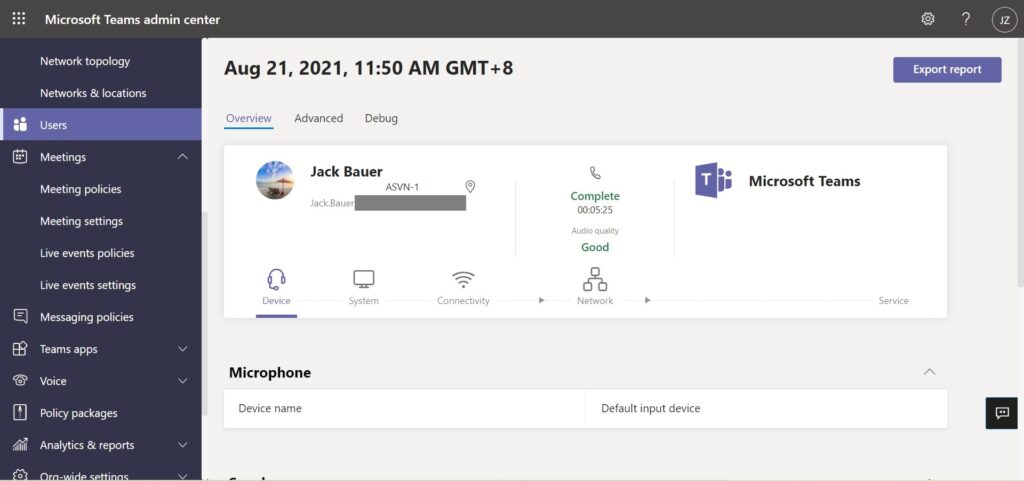
With those informations uploaded to Teams admin center, your helpdesk agents or Teams admins can using Call Analytics to troubleshoot per-user call or meetings. Given them a clearly picture of particular user was in which office network segment. Look at below screenshot for the network name “ASVN-1”.