As per MS announcement, starting this week, a collection of 20+ of the most popular Snapchat Lenses are available to Teams customer globally. This can gives you more ways to express yourself and having fun in your meetings. And the key advantage of Snapchat Lenses for Teams is its direct integration. Which means no need to download anything or add a new app to Teams, it’s already available and ready for you to try. Though, this is not true in reality as it may turned off by your Teams admin.

How to using Snapchat Lenses in Teams?
To using Snapchat Lenses in Teams you may follow below steps before join your next meeting:
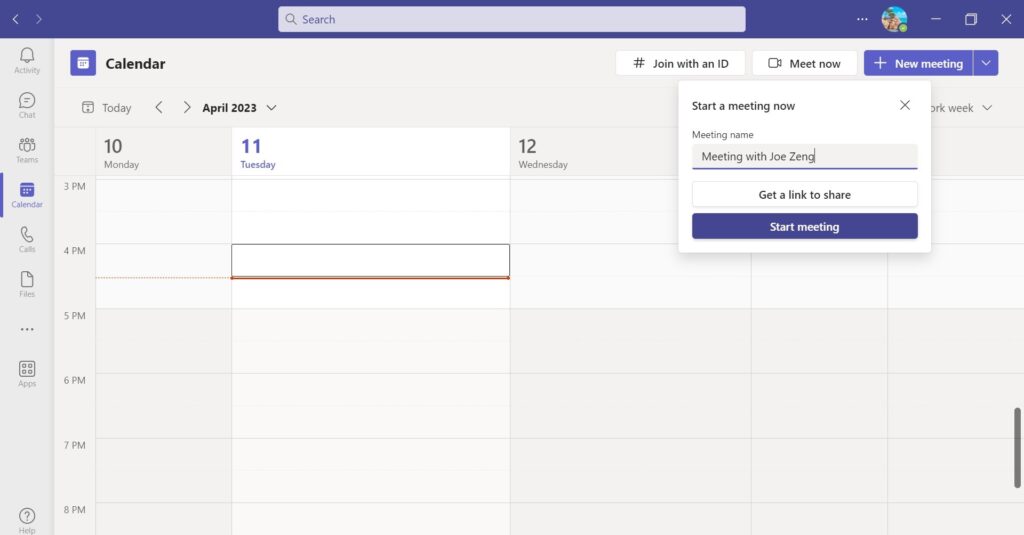
1.Click your next meeting invitation or just simply click “Meet now” within Calendar section.

2.Click “Start meeting” button.
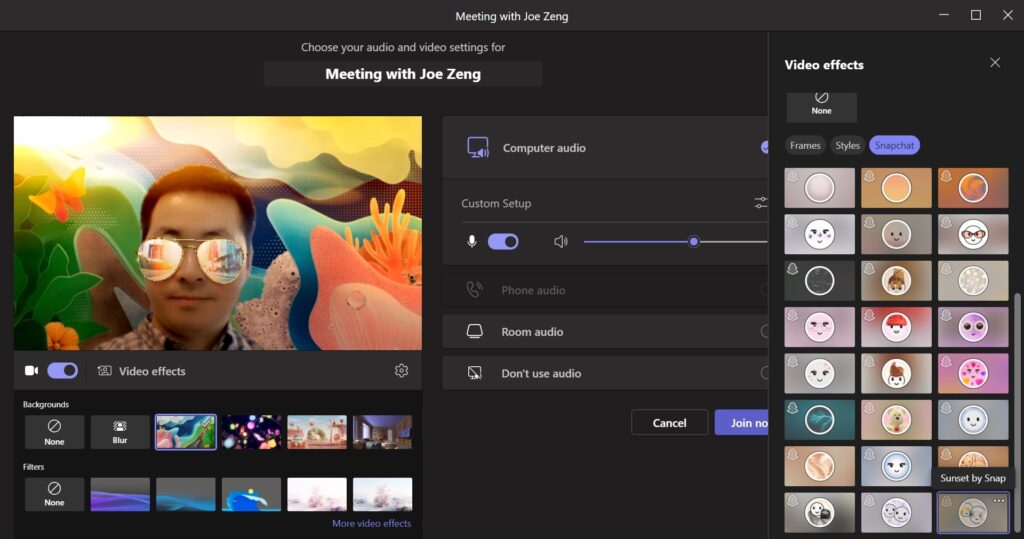
3.Turn on your camera > click “Video effects”.
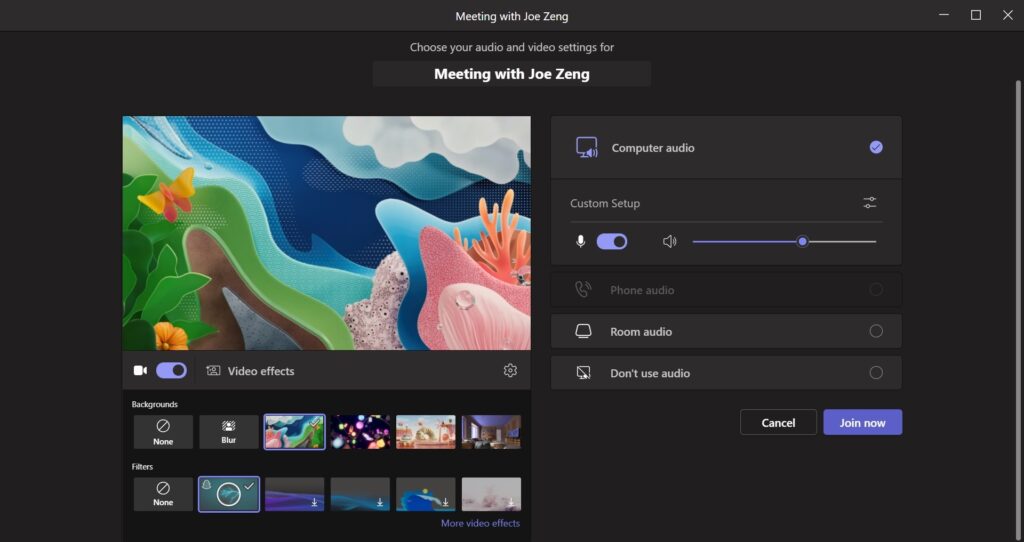
4.Click “More video effects” > select “Snapchat”.

5.Tick the box to provide explicit user consent.
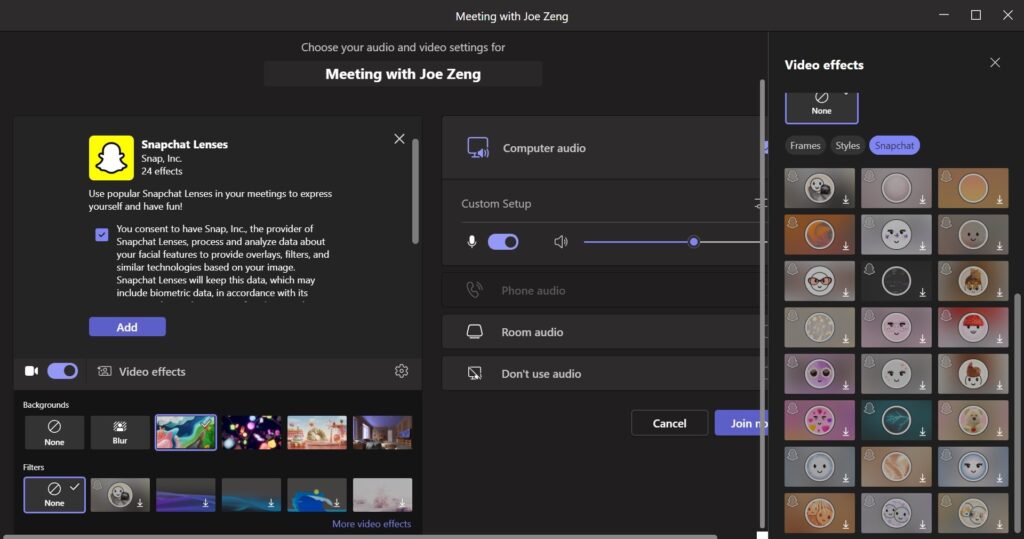
6.After that, select preferred Snapchat Lenses to apply.
How to manage this feature
The Teams admin has the control to enable or disable the video filter apps via Teams Admin Center. These apps are enabled by default. Refer to below steps to disable these apps:
1.Login to Teams Admin Center with your account via https://admin.teams.microsoft.com > Click “Teams apps” from left panel > “Manage apps” > search “Snapchat” within the search box.
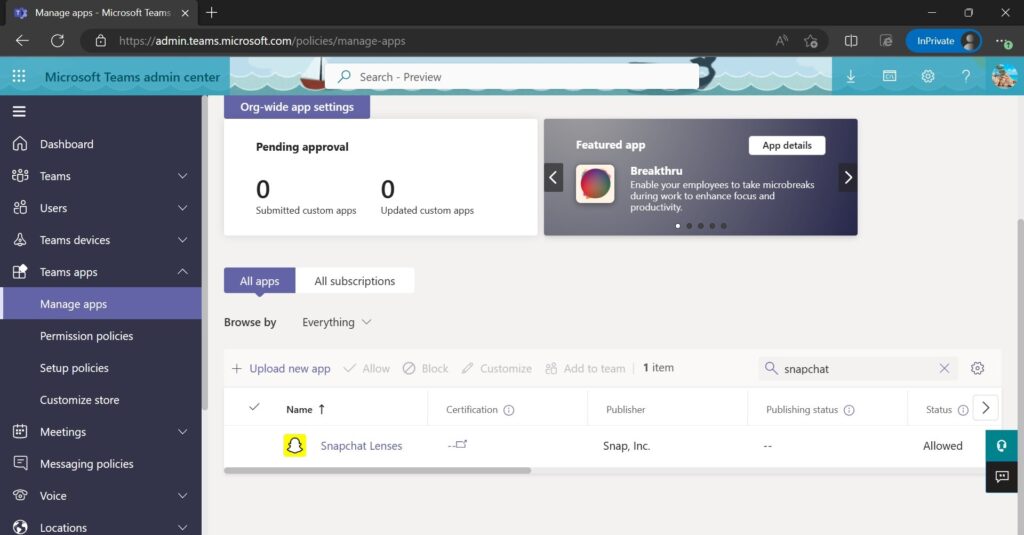
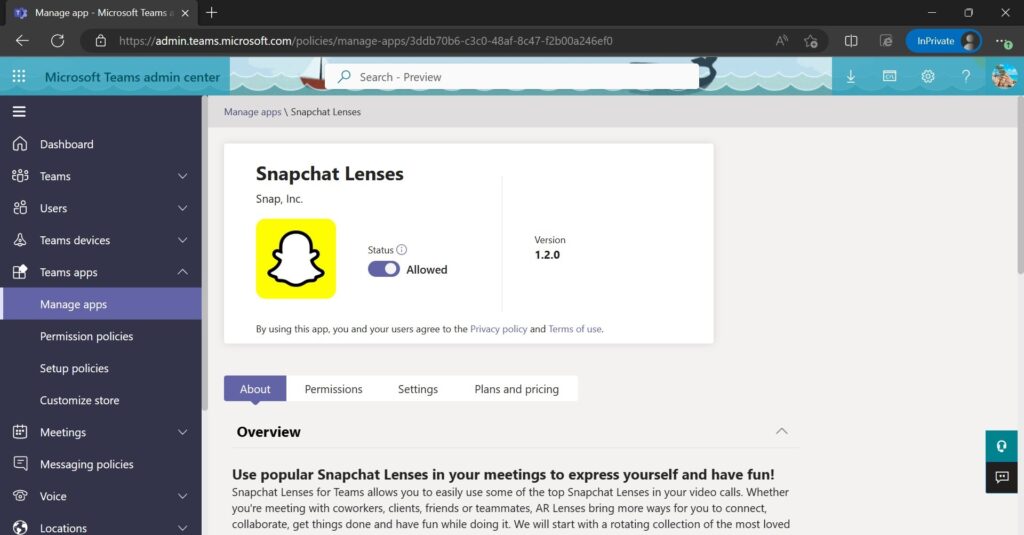
2.Chose to toggle off or on to disable or enable the app.
Note, this feature is available for “Teams for Work” customer only. This feature is made possible by Snap’s Camera Kit. Lenses allow users to add augmented reality (AR) effects to videos calls, and bring livelier human interaction to meetings. AR captures and processes information about our physical environment and then overlays it with virtual objects and information, allowing us to see and experience the world in a different way.
External reference
Manage your apps in the Microsoft Teams admin center – Microsoft Teams | Microsoft Learn